Continued from: part 1
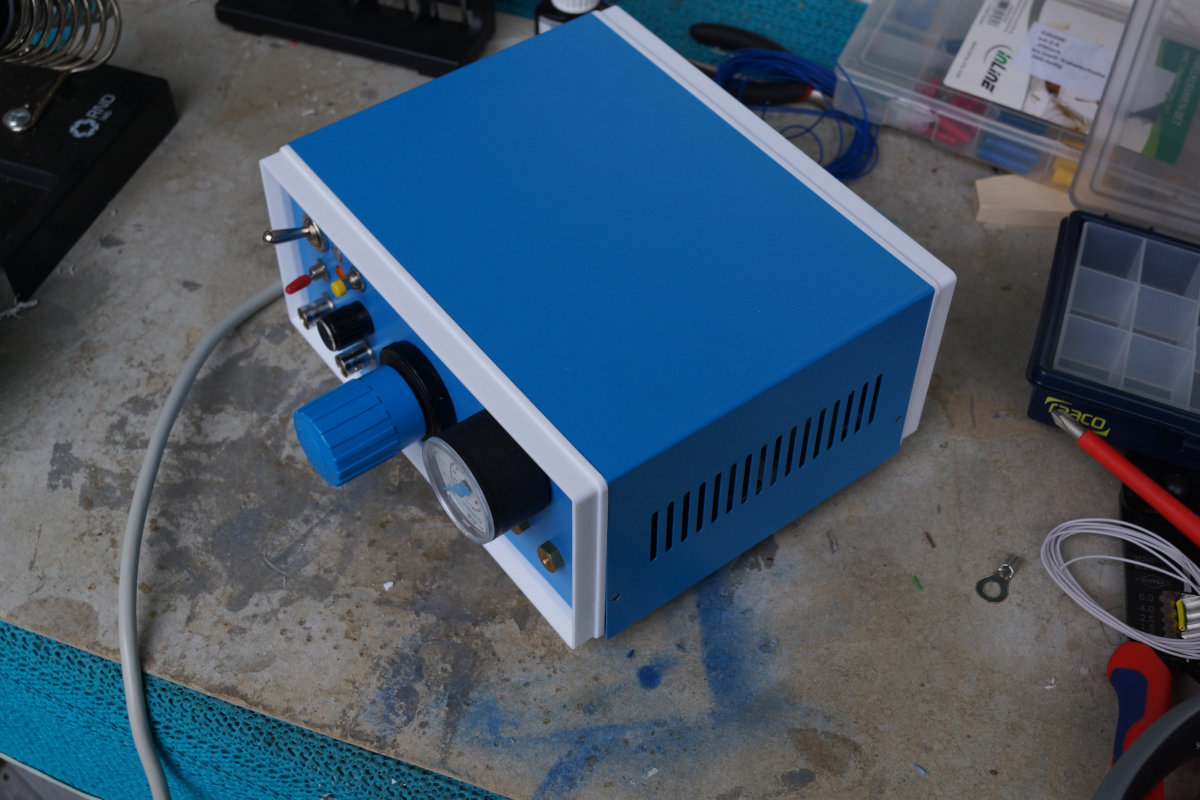
This is more of a quick update, this weekend I finished the mechanical and electrical construction of my microinjection dispenser controller.
Back Panel
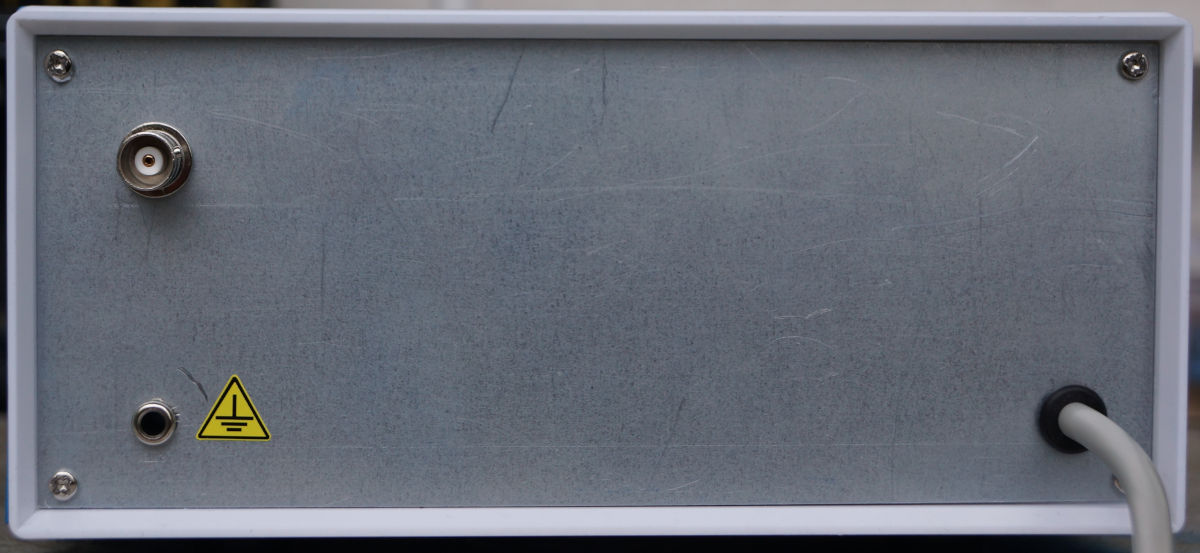
So I finished the back panel as mentioned in part 1. The BNC at the top gives a TTL marker signal and I also added a 4mm banana socket for grounding.
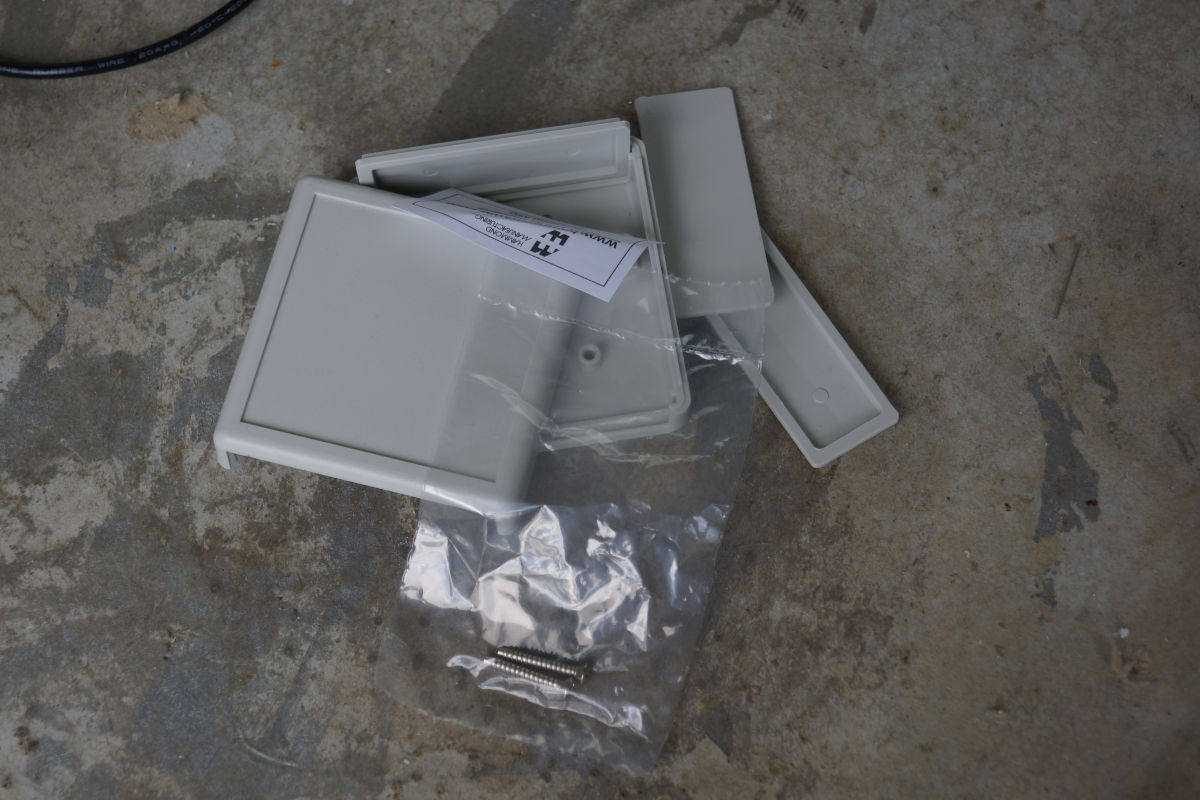
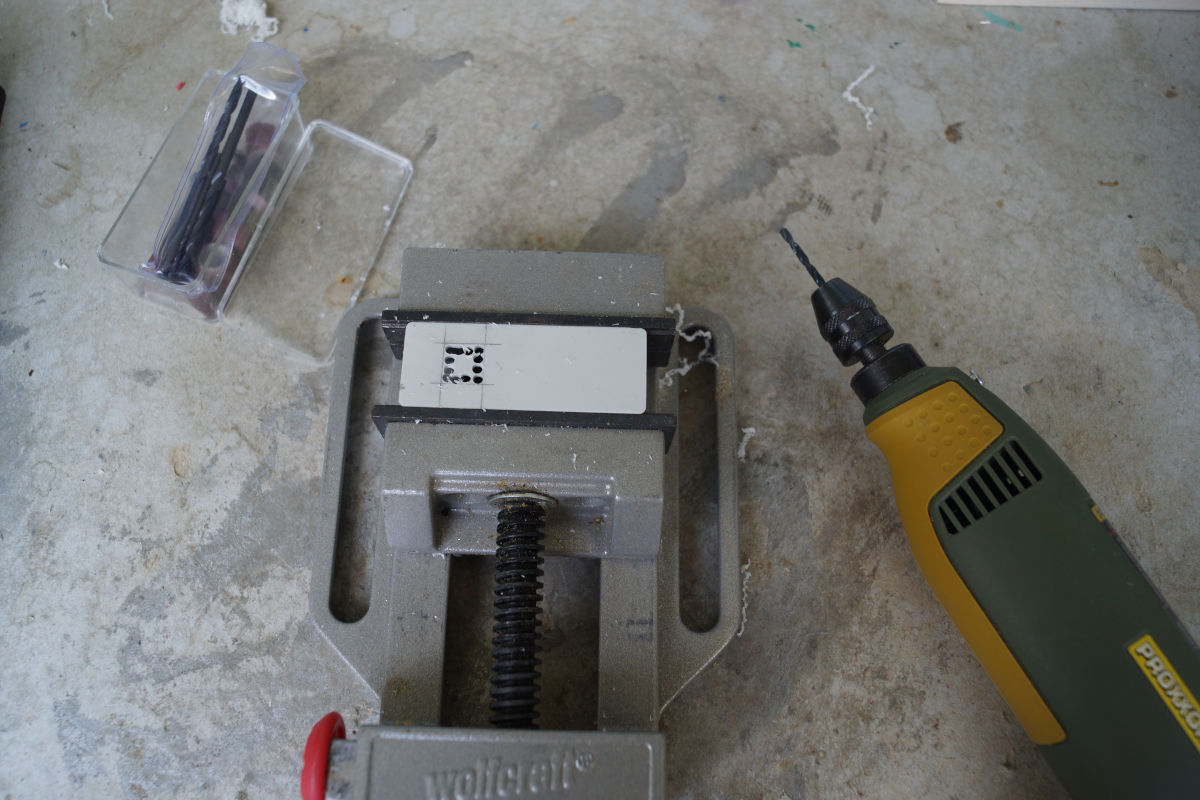
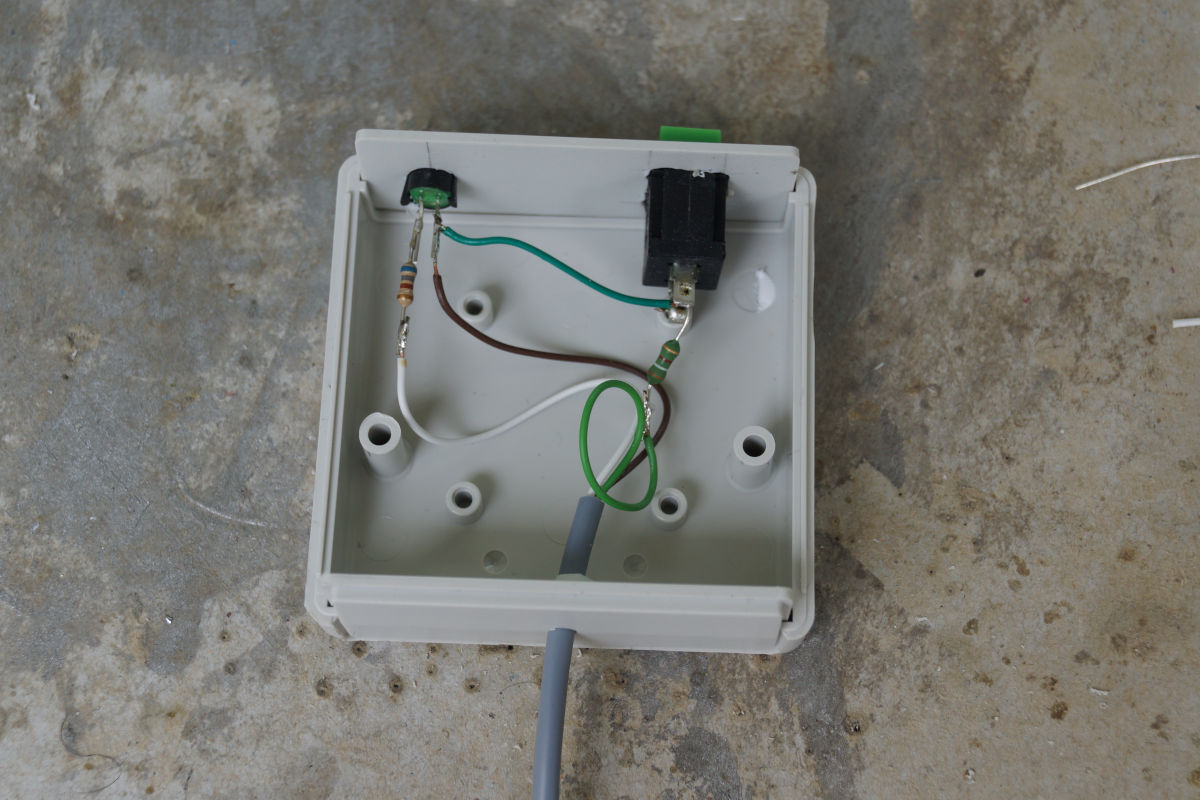
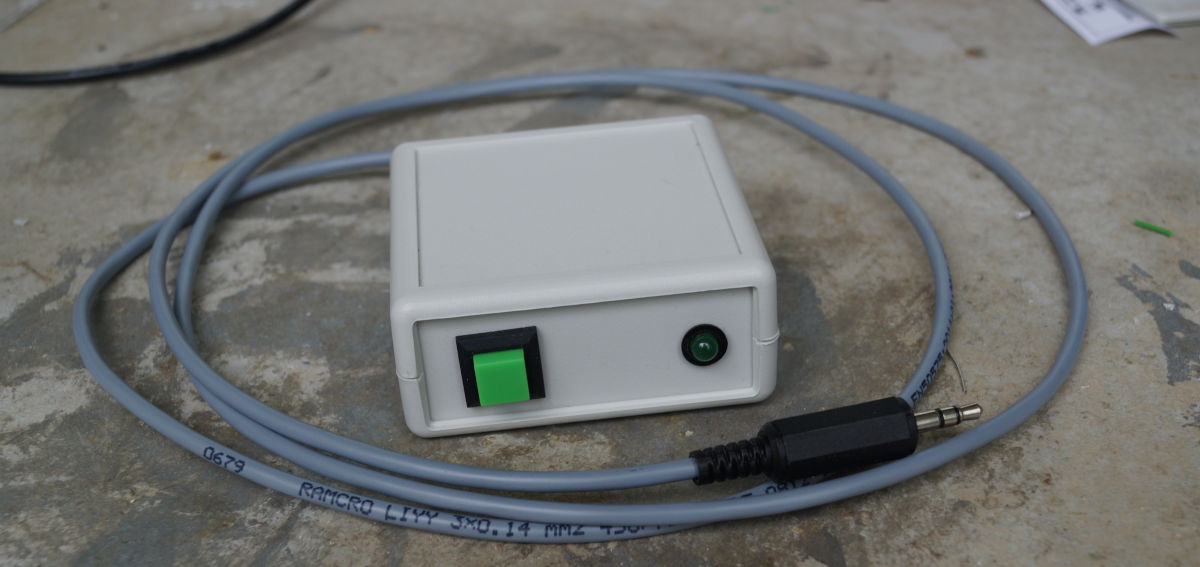
Remote
In order to trigger it I wanted the possibility of a small remote with a button instead of having to press the button on the front panel every time. So I quickly built this, it’s just two resistors a LED and a button. The LED is programmable by the Arduino on the main control board. Right now I just have it permanently on to indicate that the unit is powered.
The finished system