Continued in: part 2
I saw some people building open-source microinjection dispensers like OpenSpritzer and PuffAdder a while back and thought “hey I can easily build this”. And so as an excercise I did.
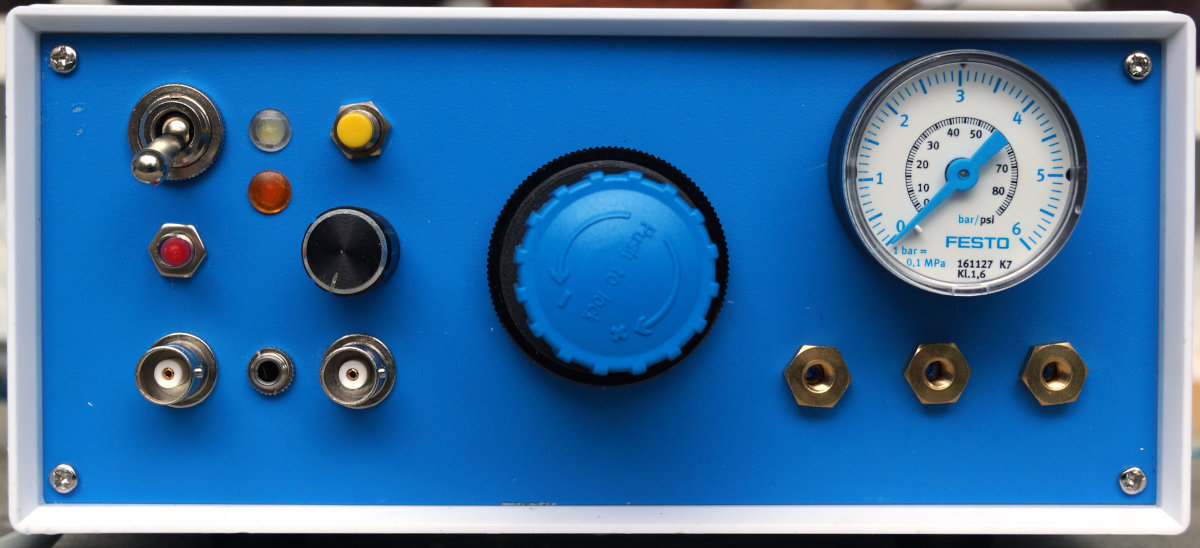
This is a pressure ejection microconjection dispension controller. It works by having a regulated pneumatic pressure being dosed by opening a fast acting solenoid valve for a specified amount of time. The relation of the pressure and the open time of the solenoid then dictate how much volume flow will be ejected.
Controller Board
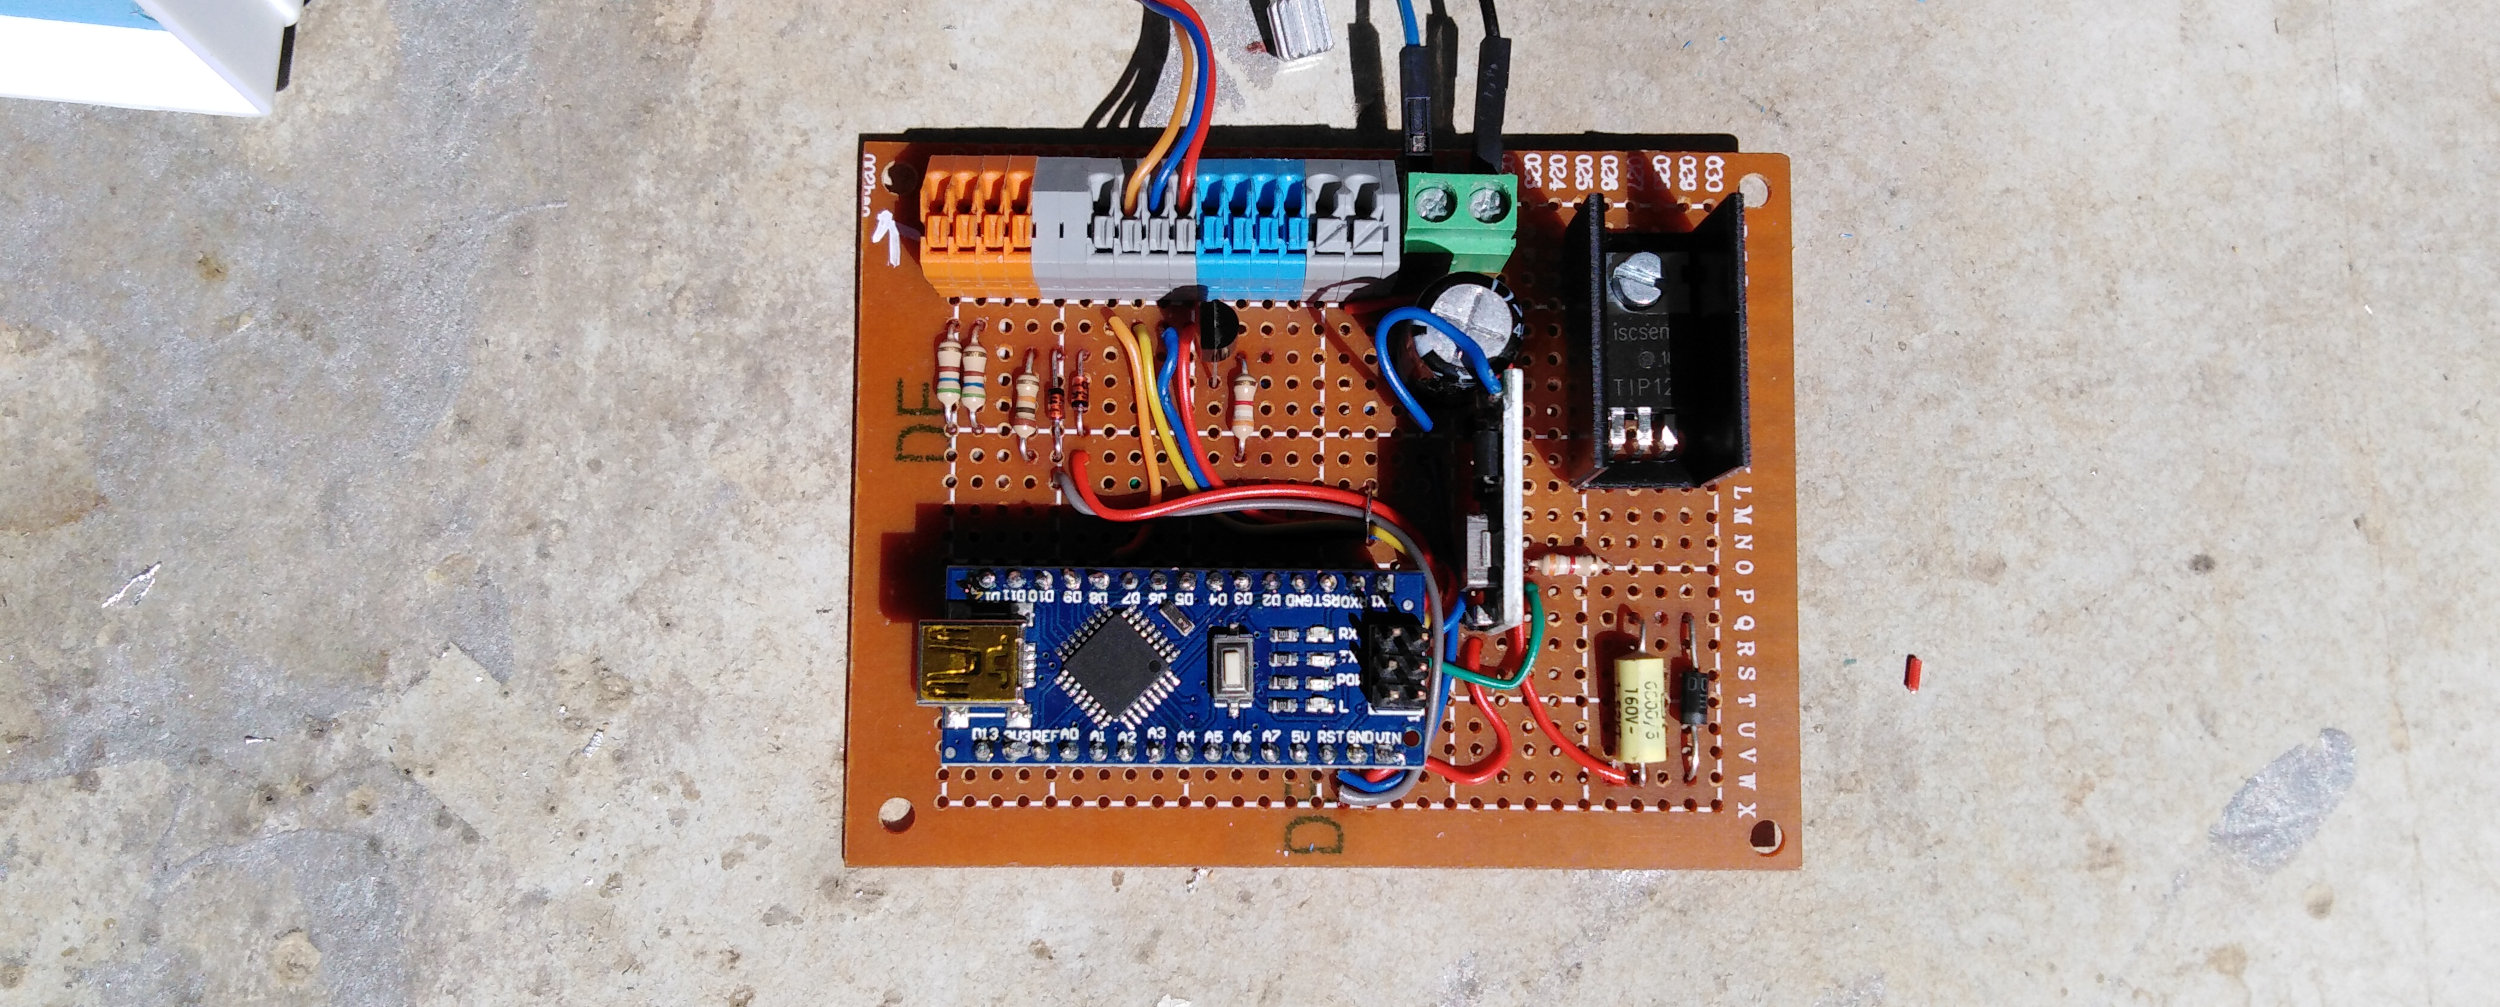
The controller board consists of an Arduino, a step-down regulator so I can have it working off 24V, some input protection circuitry and a solenoid driver. A normal 7805 could technically suffice to get 5V from the 24V supply but would dissipate too much heat, so I decided to go with a small buck converter.
I designed the solenoid driver to be slightly overkill, it has the advantage that it is powerful enough for different fast acting solenoids, other than the one I’m using. The solenoid driver consists of a TIP121 darlington NPN transistor, protection diode and snubber.
Pneumatics
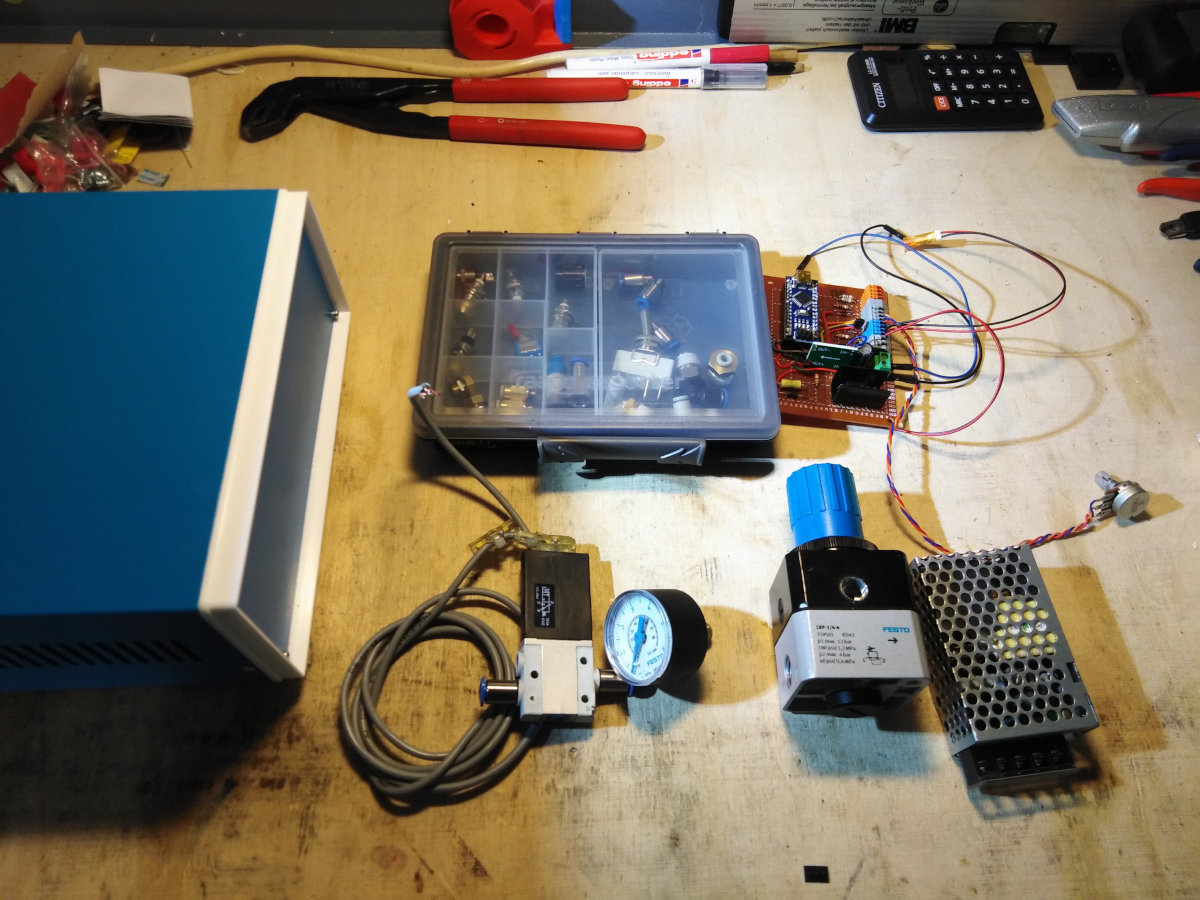
The fast acting solenoid valve used is a FESTO MHE2 MS1H 3/2G M7 (196131), the regulator is a FESTO LRP-1/4-4 (159501) and Manometer MAP-40-6-1/8-EN (161127), I got all of them off eBay for together <50 EUR. But they aren’t that expensive to buy factory new either. The downside being the various differing screw fittings required (M7, 1/4, 1/8) and also M5 for the front panel pass through.
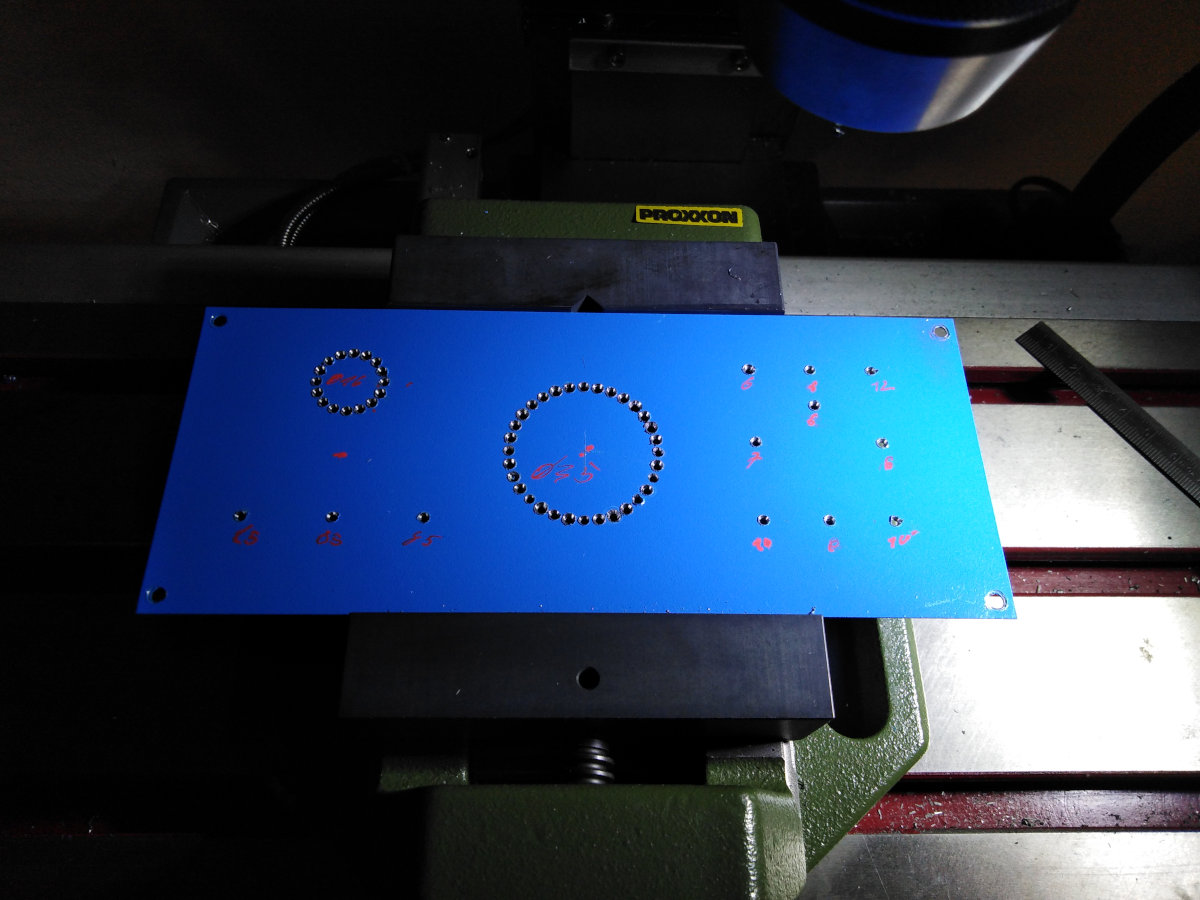
Front Panel
Since I don’t have a press with a corresponding stencil to make the larger holes for the regulator and pressure gauge I used the DRO on my mill with the bolt hole circle function to get the hole into shape and then used a jigsaw to cut it out. I also center drilled the other holes and then drilled them to size on my drill press.
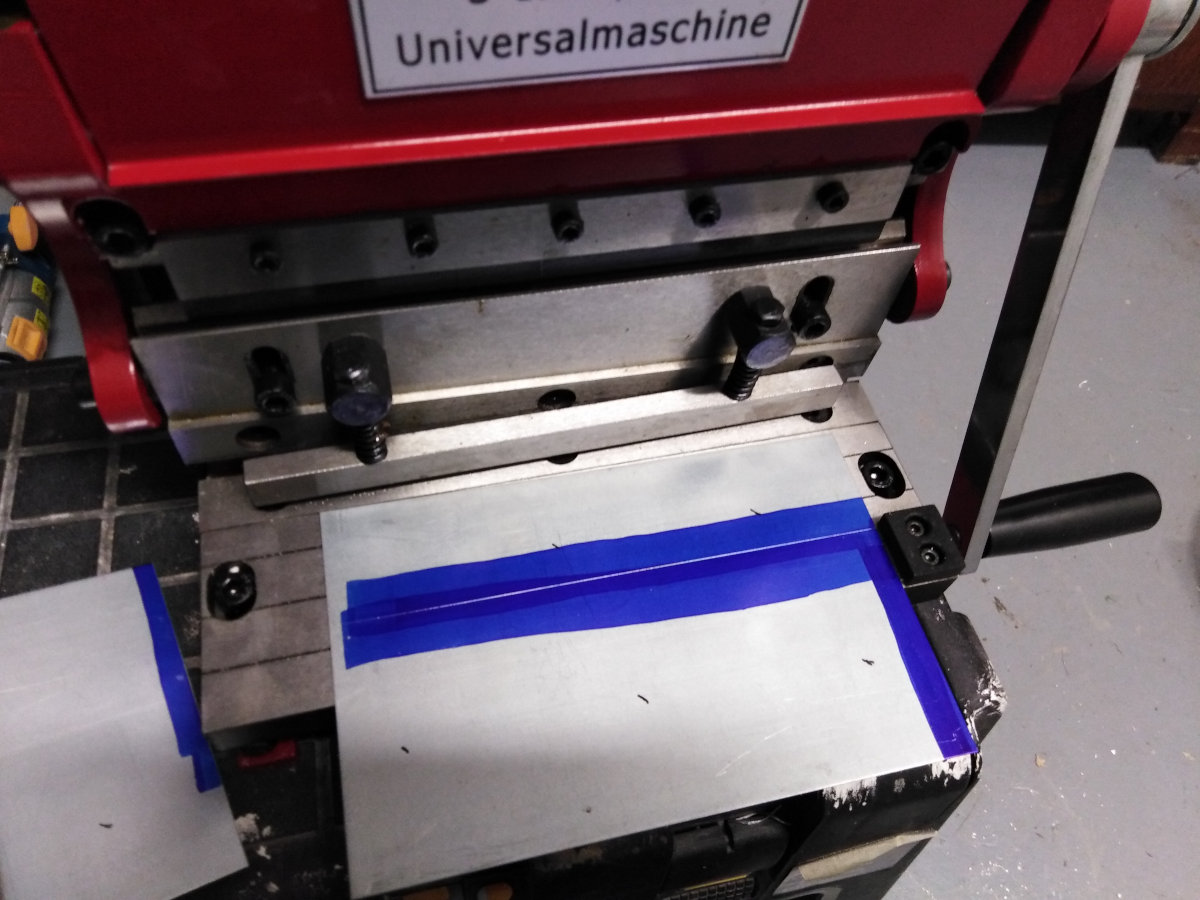
Back Panel
Originally I used the case for something different and as such had to redo one of the panels as there were holes in there that didn’t match. So I quickly cut a new panel out of some sheet metal.
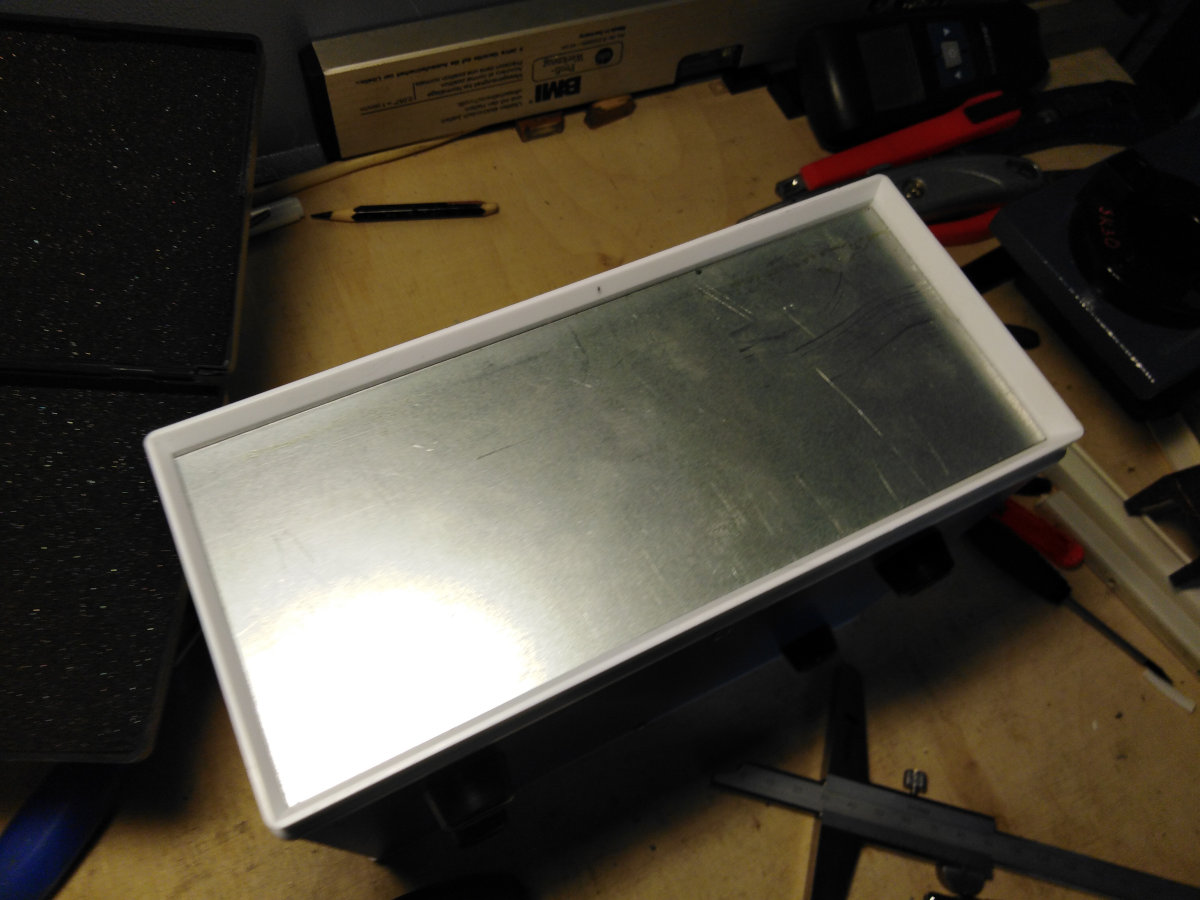
Internal Construction
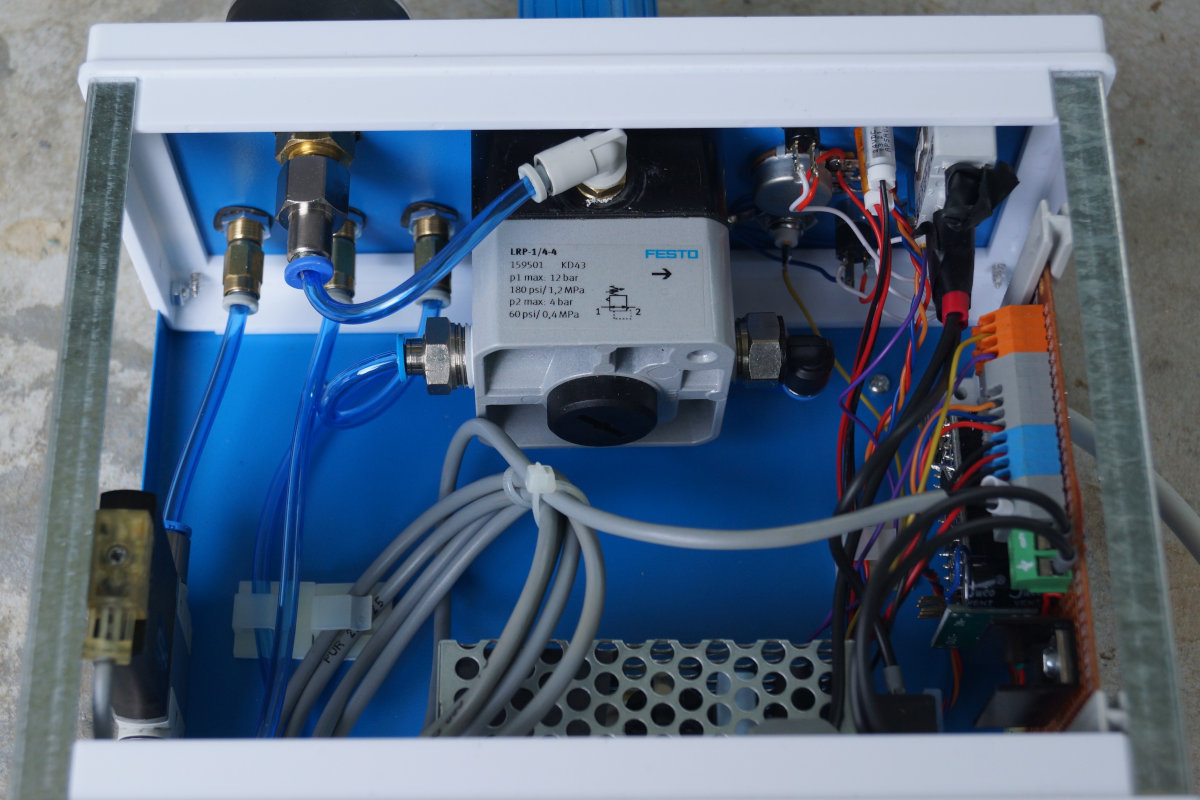
I used 4mm pneumatic tubing for everything. The external connections can be made using any tube for which there are M5 screw fitting available.
Now the only thing missing with regards to the main construction are holes for another BNC and the power cord both in the back panel. But it is working fine from the technical side of things.
References
- Forman, C.J., Tomes, H., Mbobo, B. et al. Openspritzer: an open hardware pressure ejection system for reliably delivering picolitre volumes. Sci Rep 7, 2188 (2017). https://doi.org/10.1038/s41598-017-02301-2