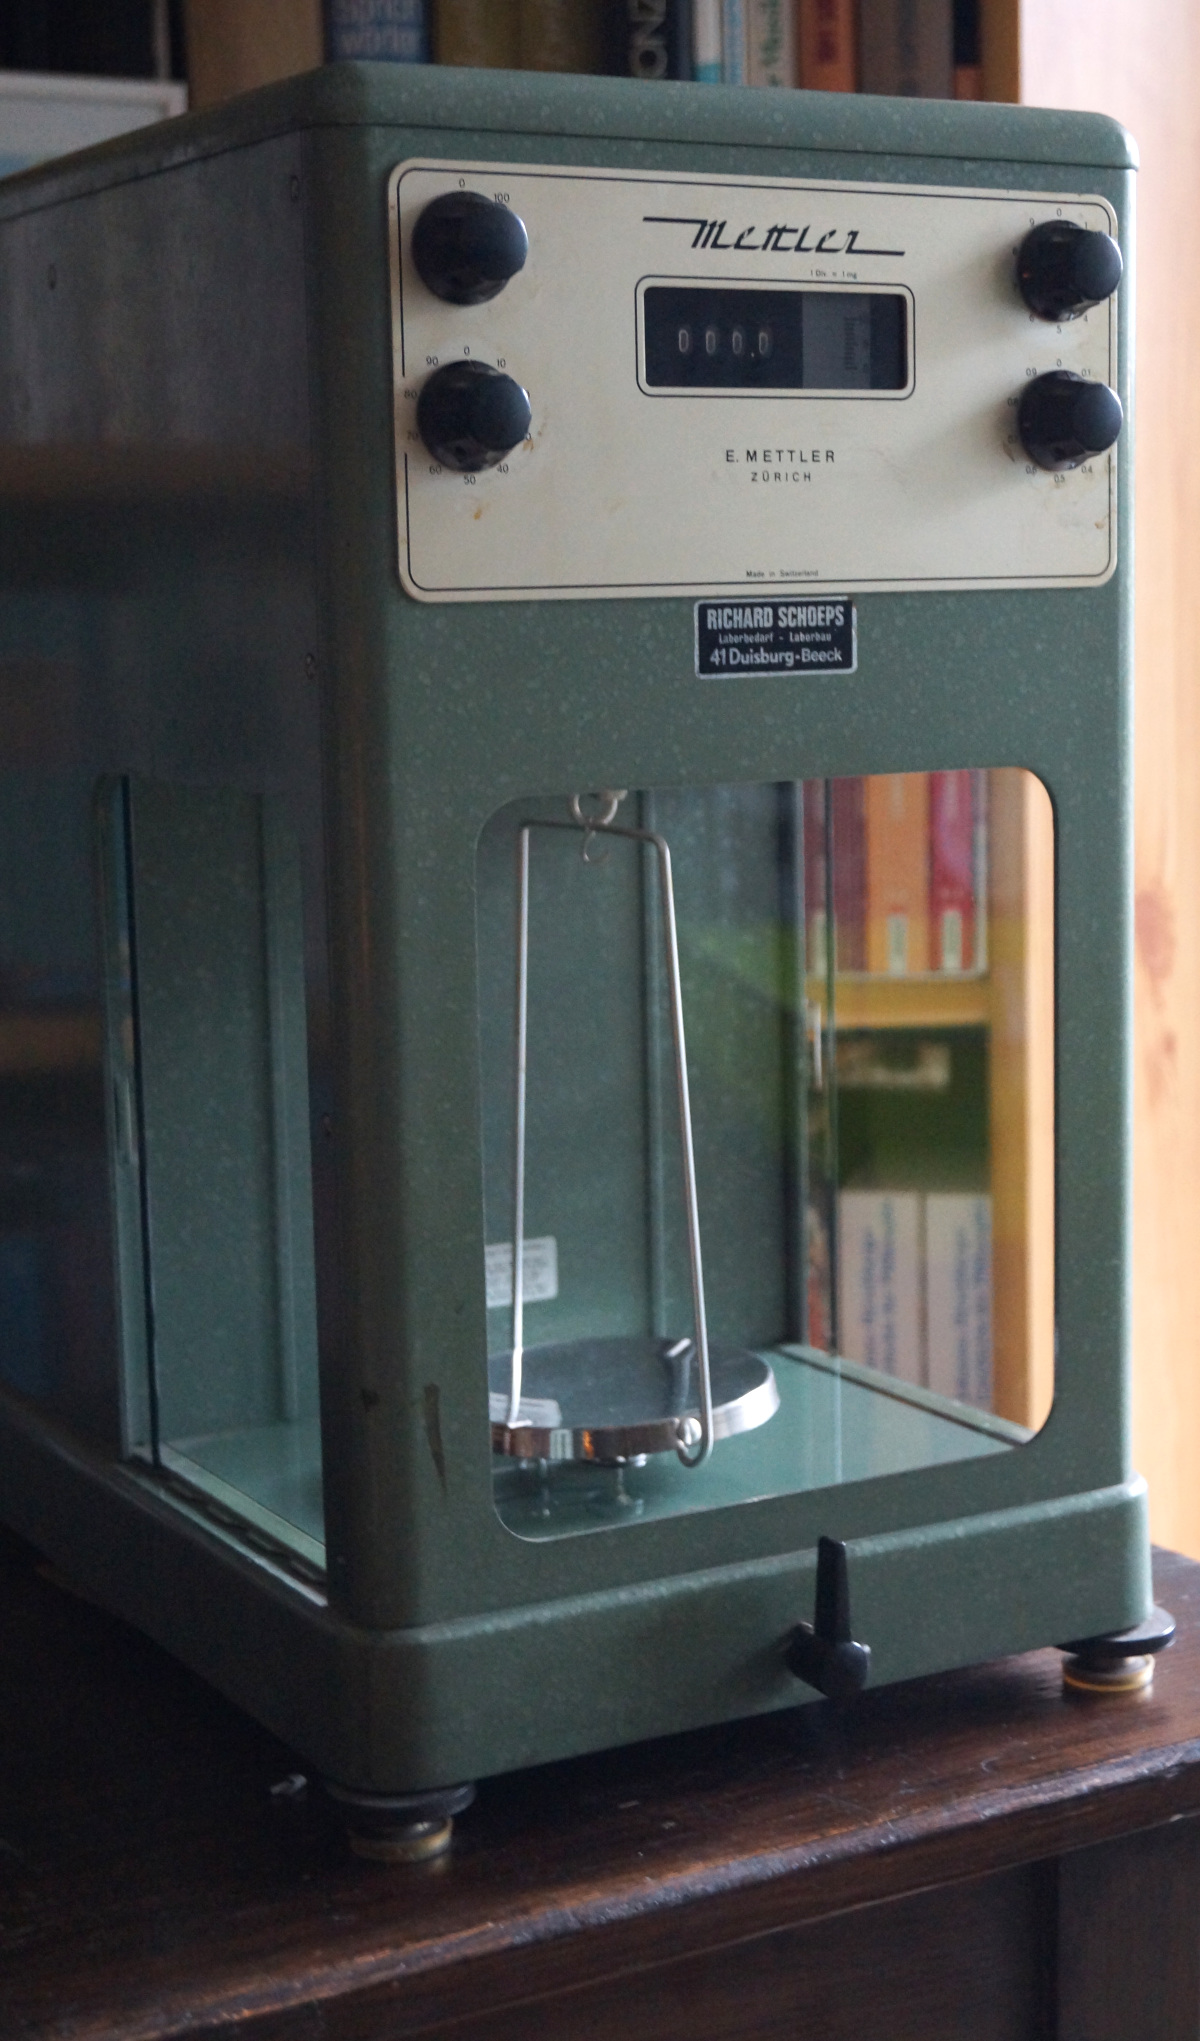
So recently I acquired this Mettler B5 laboratory scale from back in the 1950s.
Unfortunately the manual isn’t available on the internet, or rather I found that someone scanned and uploaded it to a long gone Sendspace link. Fortunately the construction and workings of Mettler scales from that time period are all similar if not the same.
Since it is a mechanical balance, it is important for it to be level and situated on a low vibration surface. A wobbling table won’t do.
Quick Specifications
From here.
- Capacity: 200g
- Sensitivity: 0.1mg
- Readability: 0.05mg
- Precision: ±0.03mg
- Tare: up to 27mg
Quick Instructions
-
Sample Lever Positions
- Horizontal up: Hold/Sample insertion position
- Right (45 degrees): Half weight display 1/2W
- Left (90 degrees): Full weight display 1W
-
Tare Procedure
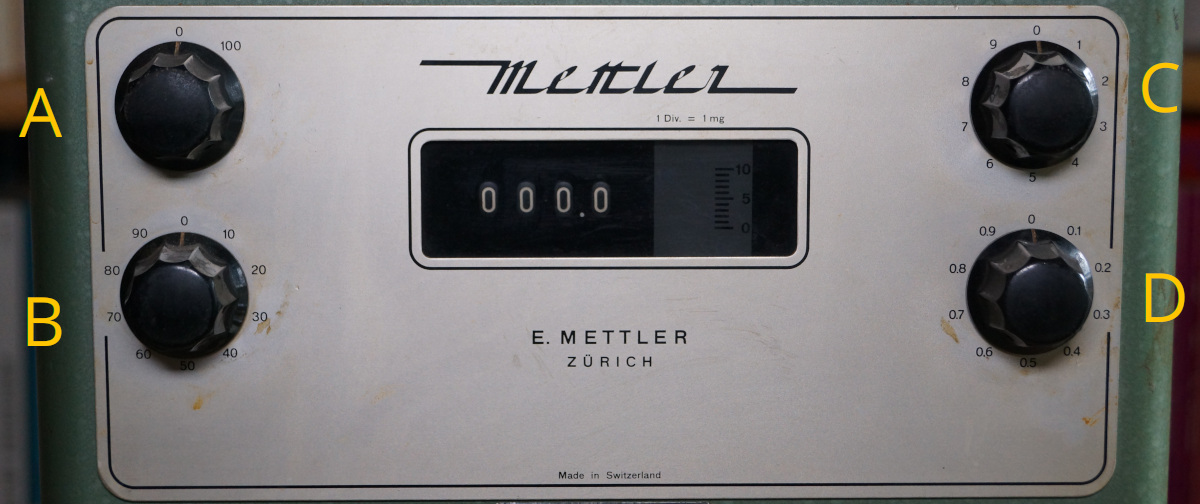
- Set knobs A, B, C and D to 0.
- Set sample lever to left position (slowly!)
- Adjust knob on the side until the zeros on the display line up.
-
Measurement Procedure
- Set knobs A, B, C and D to position 0
- Set sample lever to straight up position
- Insert sample
- Set sample lever to the right position
- Adjust A until it overshoots the projected scale, rotate it back one step.
- Repeat for B
- Set lever to position straight up position
- Slowly set sample lever to the left position
- Adjust B, C and D in the same way as above
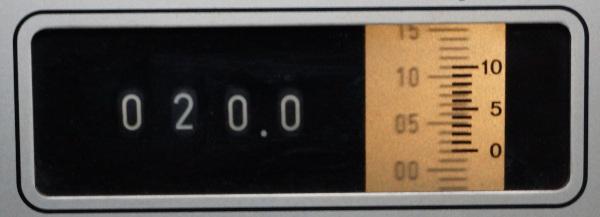
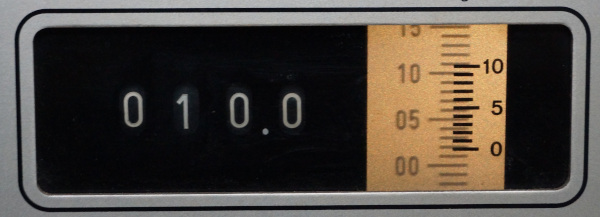
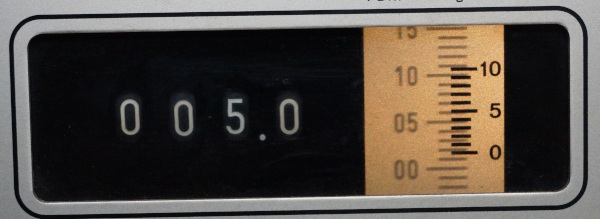
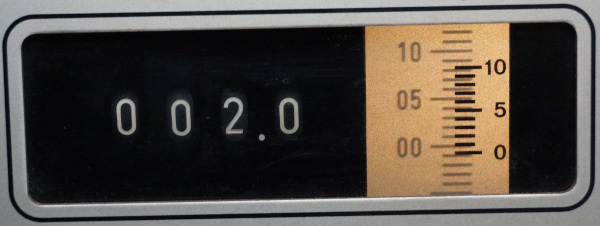
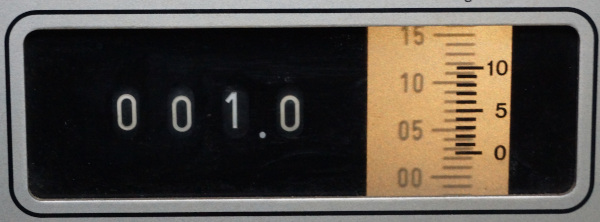
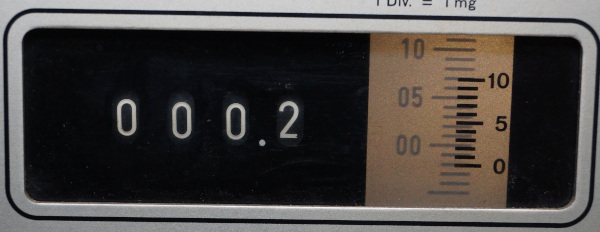
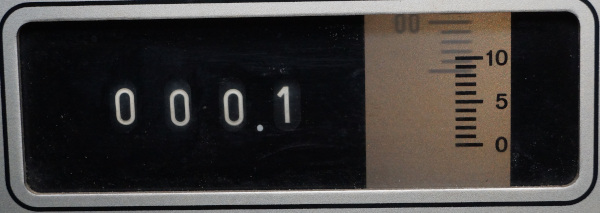
- Once done read the value from the display, see Vernier scale
Mechanics
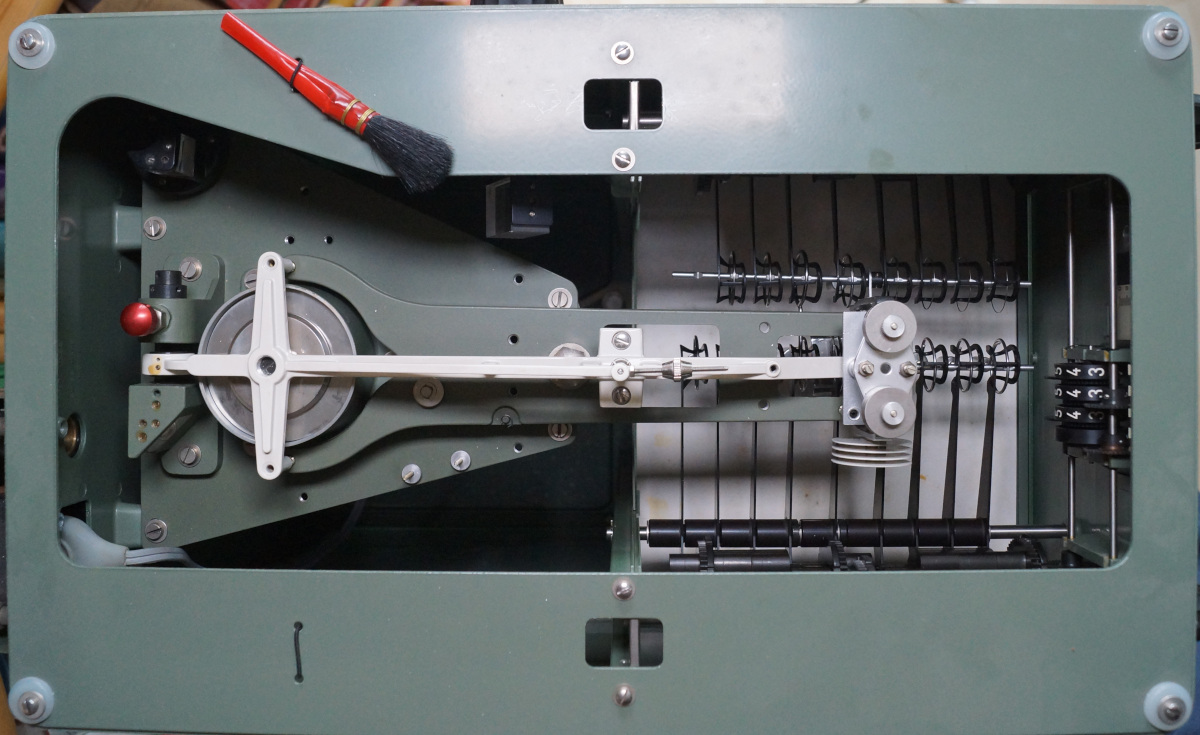
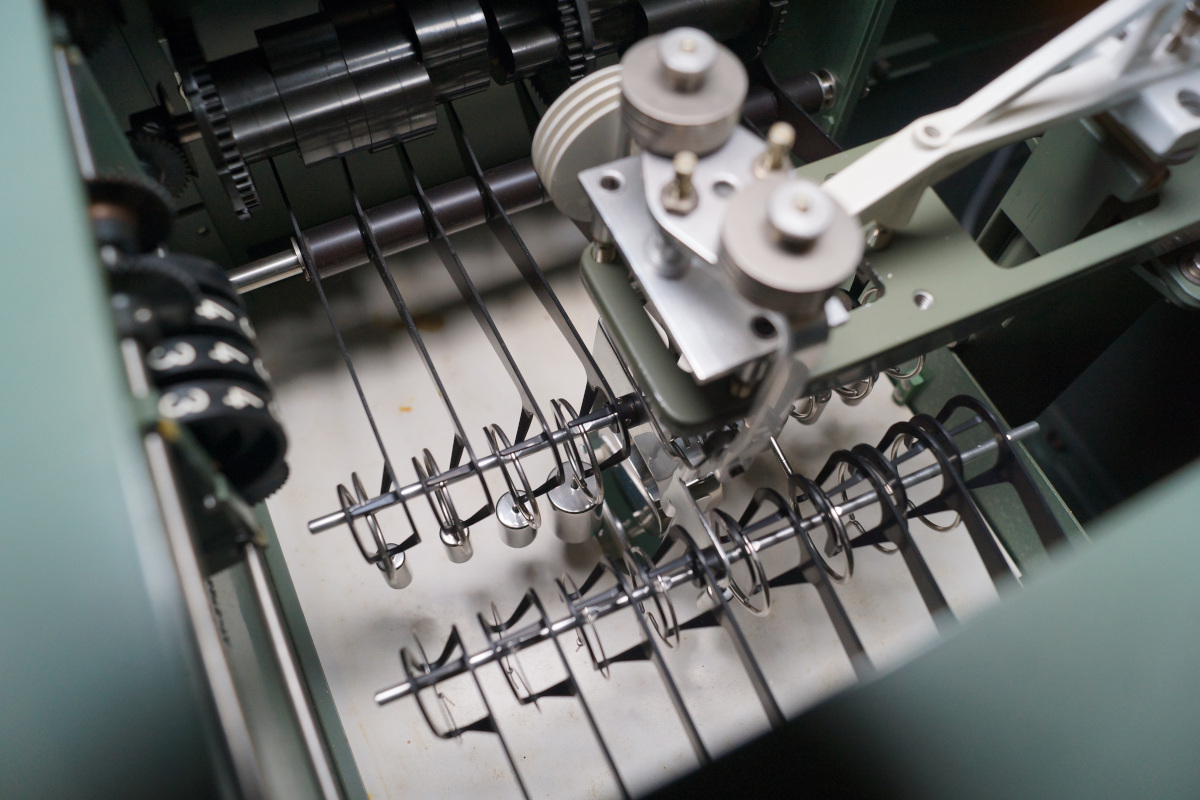
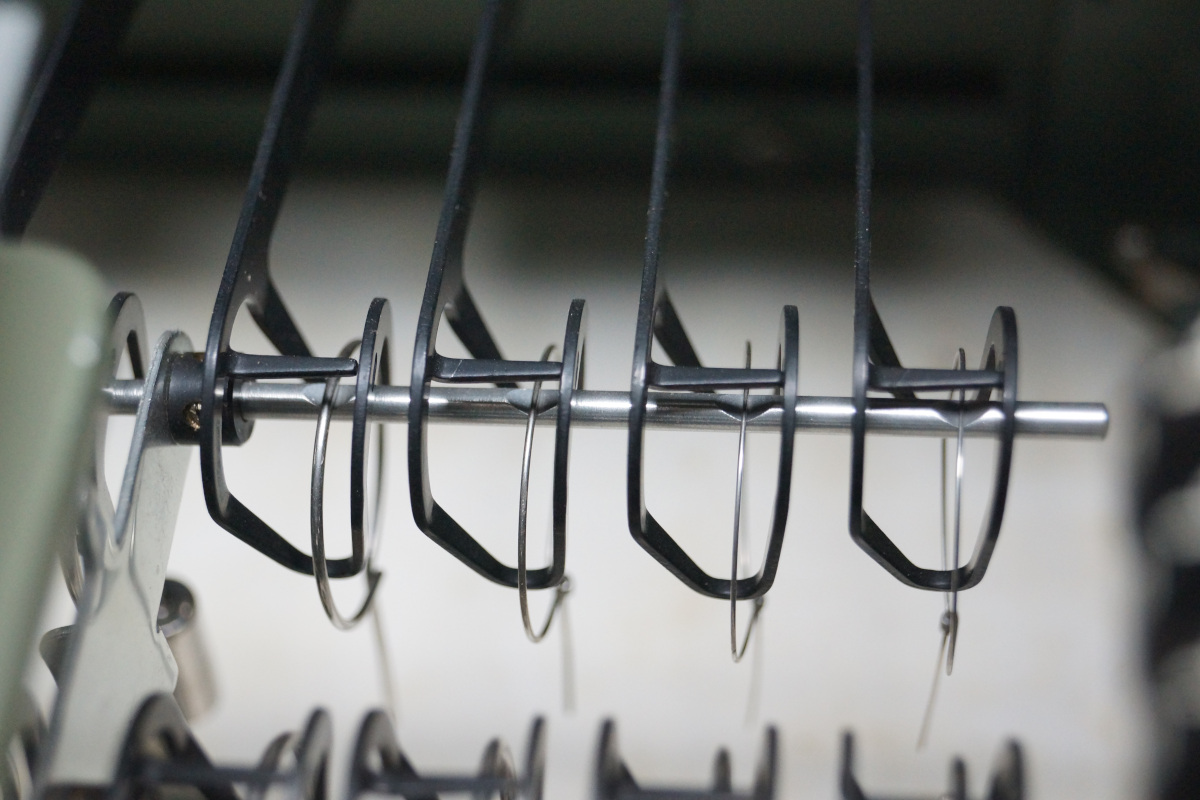
The mechanics are really interesting, this is my first laboratory scale as such it’s also the first time I’ve ever seen the workings of one.
It is basically a balance where you have a fixed counterweight and on the other side the sample holder and individual counterweights that can be added or removed with the knobs on the front panel. By default all counterweights are engaged, the weight of all counterweights and the sample holder should equal the weight of the fixed counterweight.
Once a sample is being put down onto the sample holder the latter side of the balance will weight more and start to tilt. Now the knobs are used to remove counterweights from that side of the balance until it reaches a balanced position again. The weight of the sample as such is the combined weight of the counterweights that have been removed. However even smaller values can be read as well using the projected scale and it’s vernier/nonius scale. This projected scale shows smaller imbalances that may still persist.
Electronics
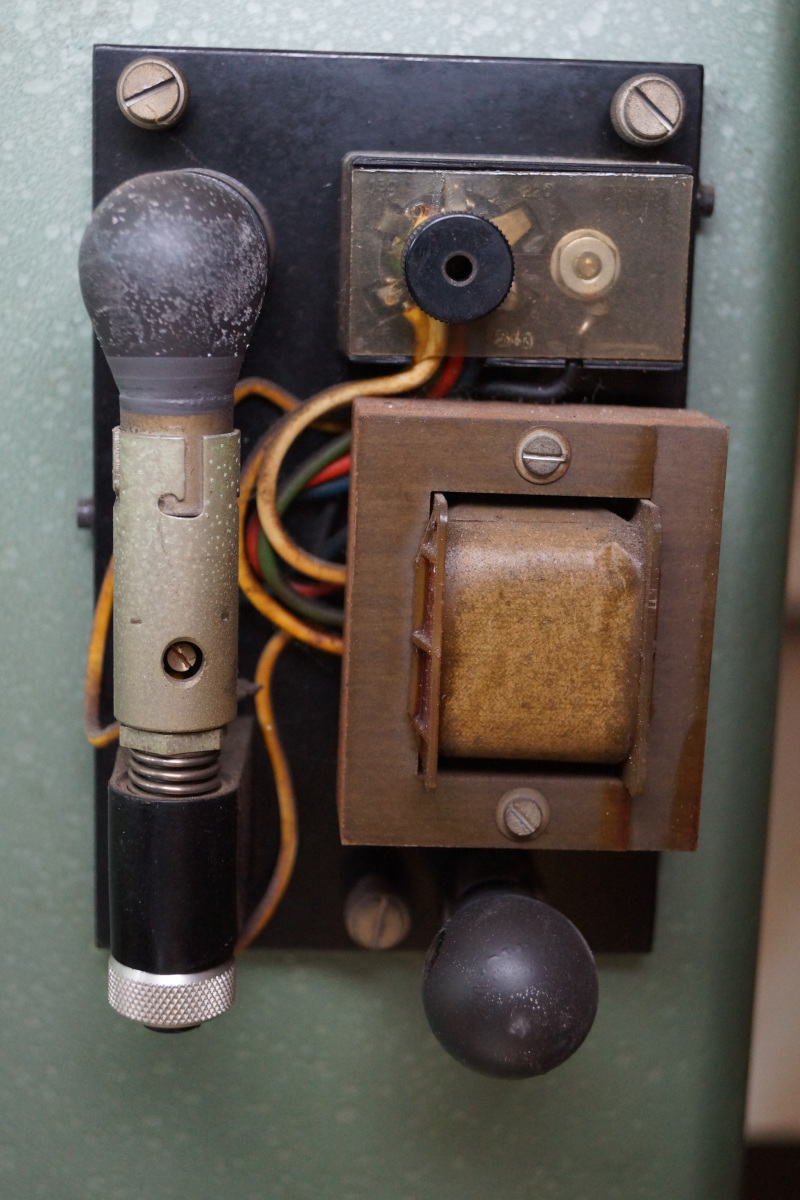 The electricals are very simple, a transformer that steps down line voltage to
around 6V and powers a lamp. There are neither fuses on the primary nor secondary sides.
When using a tungsten lamp a fuse on the secondary side is not necessary.
The electricals are very simple, a transformer that steps down line voltage to
around 6V and powers a lamp. There are neither fuses on the primary nor secondary sides.
When using a tungsten lamp a fuse on the secondary side is not necessary.
The lamp is a 8W 6.5V B15S socket type. The original ones from Mettler were painted to only leave a small circle open. There is also a spot for a spare.
My scale came with two original Mettler lamps which are of type: OSRAM 90643 6.5V 1.5A cDZ.
Both of them still work, but it’s not a really permanent solution as they will break eventually. I’m going to use them for as long they work, but already got a backup plan covered:
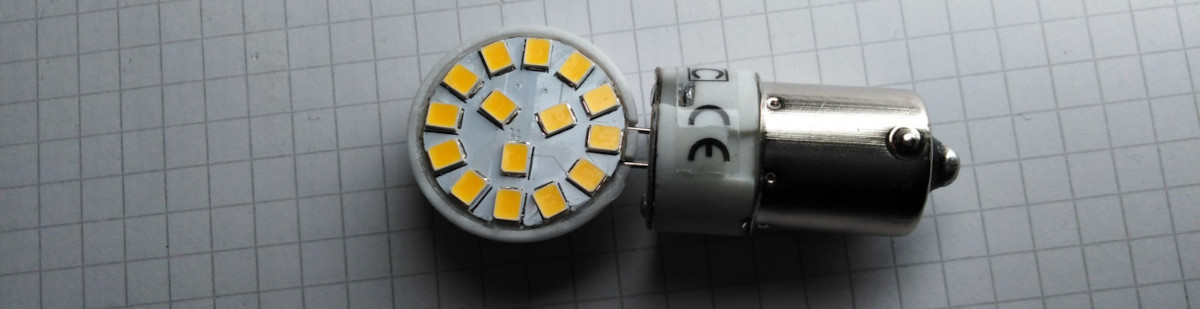
I wanted to change as little as possible, yet make it functional with more easily to get lamps. The problem being that all B15S lamps you can easily and cheaply get are >10W for car use (optimized DC only as well) whereas this is AC. So I got a B15S to G4 socket adapter so I can use easy and cheaply to get G4 12V light bulbs. Since the original tungsten light bulbs still work I’m going to continue using them until they break but I’ll put these LED lamps and the socket into my accessory box for this balance.
One thing to mention is that when I permanently install the LED lights I will add a fuse onto the secondary side of the transformer. Many cheap low voltage LED bulbs are unfused, if something shorts in the LED light it will short the transformer.
Features/Controls
Bubble level indicator
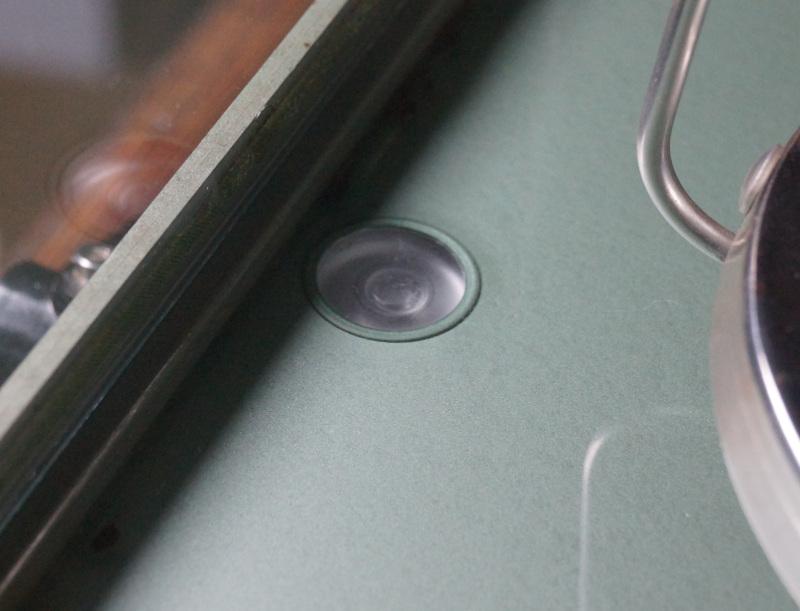
There is a bubble level indicator at the front center of the unit. However I found it to be more precise to also use an external bubble level indicator.
Light Focus Control
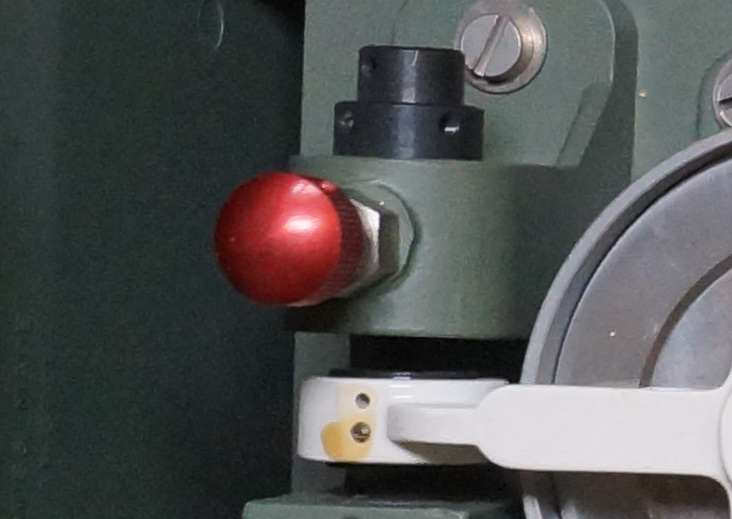
The focus of the scale that gets projected onto the front panel can be adjusted using the red knob at the back.
If the scale gets defocused regularly the device may not be level as this is a sign that the balance tilts off into one of the directions.
Sample holder break
The pin of the sample holder break should make contact with the sample holder, this can be adjusted by rotating the ring around the needle.
Line voltage selector
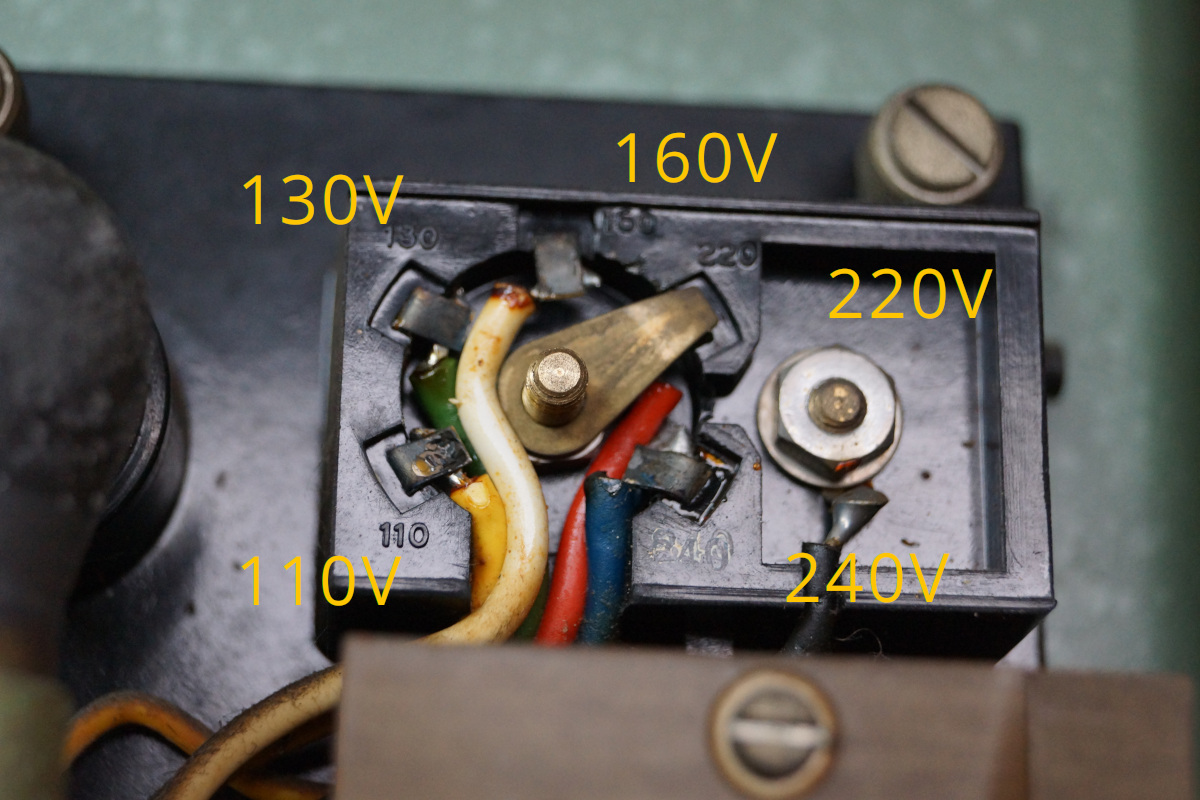 There is a line voltage selector that allows selecting between 110V, 130V, 160V, 220V and 240V. Preferably choose the
voltage higher than the nominal one, back in the day the line voltage in Europe used to be 220V whereas it's
nominally 230V these days (RMS voltage). As such to prolong the lamp life I set the selector to 240V.
There is a line voltage selector that allows selecting between 110V, 130V, 160V, 220V and 240V. Preferably choose the
voltage higher than the nominal one, back in the day the line voltage in Europe used to be 220V whereas it's
nominally 230V these days (RMS voltage). As such to prolong the lamp life I set the selector to 240V.
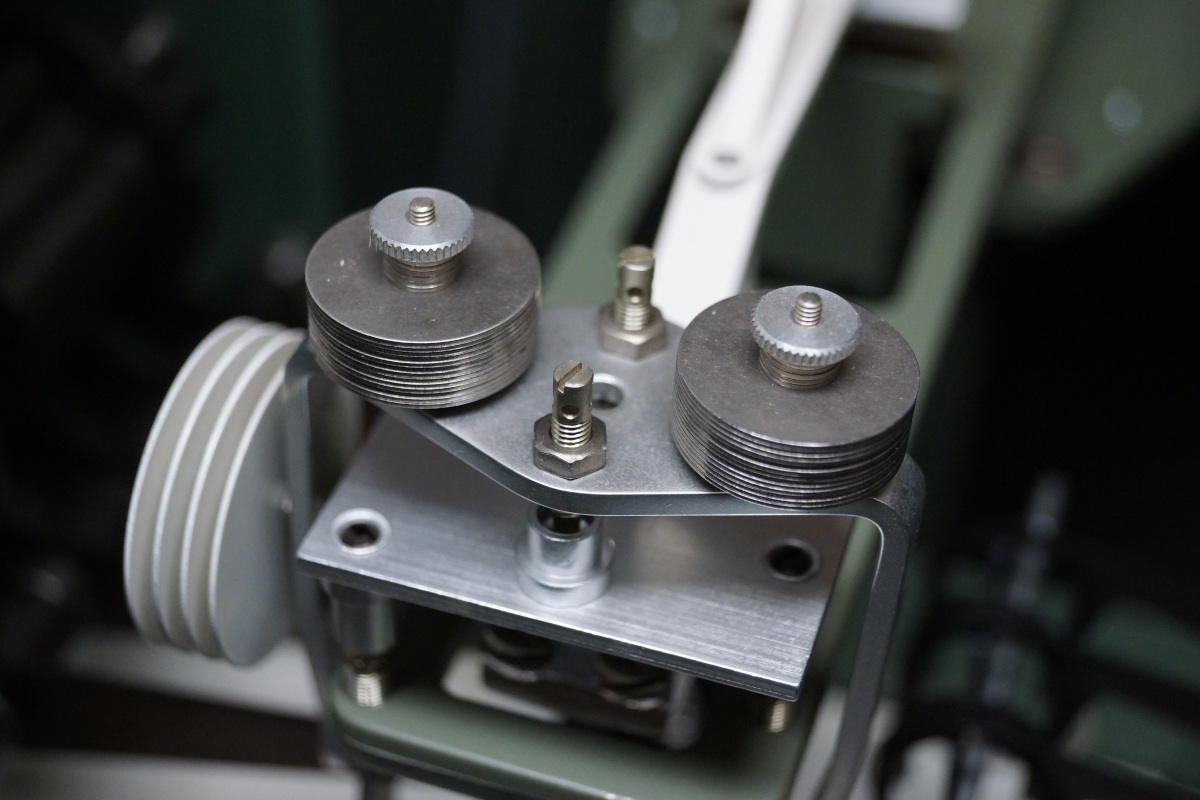
Calibration
The balance can be fine calibrated by using these two adjustable counterweights:
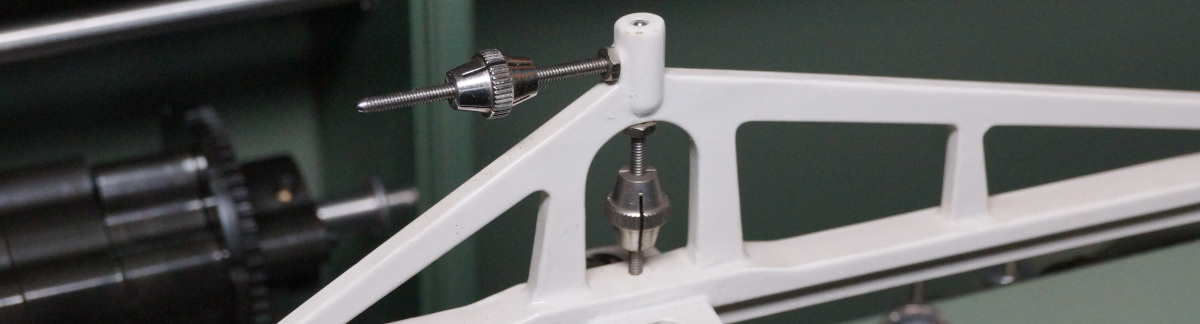
The horizontal counterweight screw biases the balance and thus allows fine adjust of the weighting balance. The vertical counterweight screw slightly biases the tilting point, this can be used to adjust the sensitivity/inertia. If you just got a scale like this chances are it is fairly well pre-calibrated already.
In order to calibrate the scale I’m using these cheap calibration counterweights you can get everywhere. Those have a specified precision of ±0,003g according to the description, though I’m not sure how much I’d trust those for absolute precision. But then again for now I don’t care about precision this high.
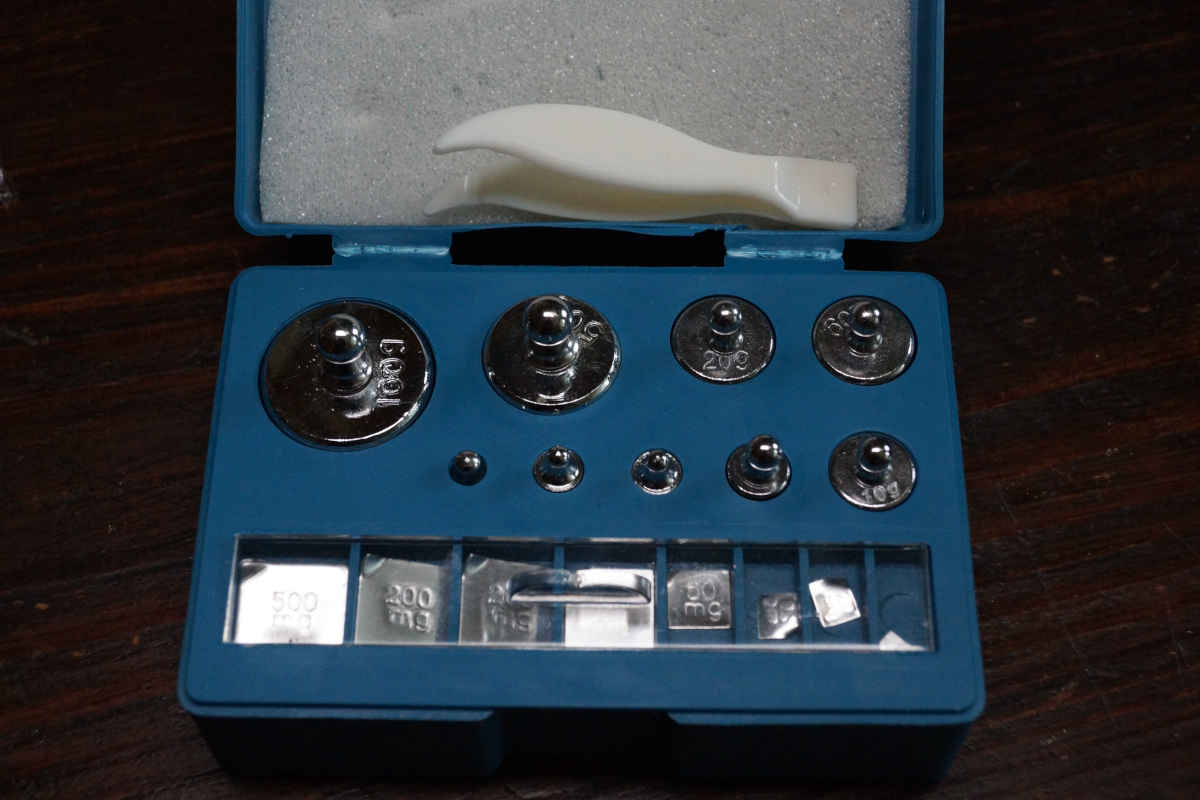
I calibrated it to the 50g weight with a deviation of 0,002g, as follows my calibration table:
| Read | Nominal Weight | Displayed Weight | Deviation abs(Δ)1) |
|---|---|---|---|
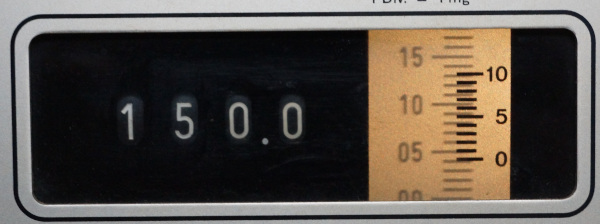 |
100g+50g=150g | 150,0042g | 0,0042g |
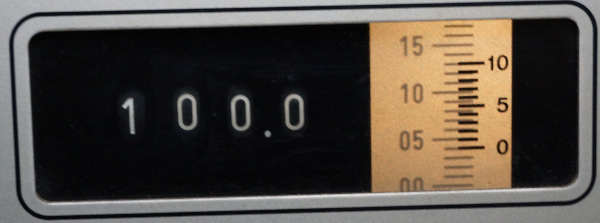 |
100g | 100,004g | 0,004g |
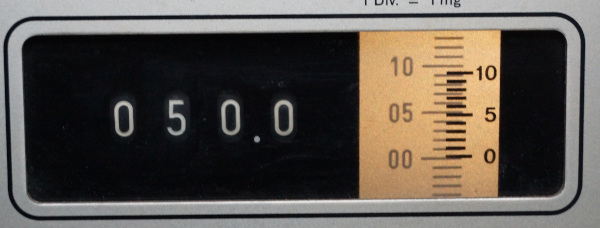 |
50g (calibration) | 50,002g | 0,002g |
 |
20g | 20,003g | 0,003g |
 |
10g | 10,0018g | 0,0018g |
 |
5g | 5,0015g | 0,0015g |
 |
2g | 1,9993g | 0,0007g |
 |
1g | 1,0026g | 0,0026g |
 |
500mg | 0,5093g | 0,0093g |
 |
200mg | 0,1979g | 0,0021g |
 |
100mg | (undershoot) | - |
1) Deviation is the deviation between the nominal weight and the actually displayed weight
Update 22.02.2021: The undershoot on the 100mg weight was due to the balance not being completely level, I am now getting similarly accurate results on all ranges, including with 10mg calibration weights.
Considering that those were cheap 10 EUR calibration weights they definitely are very close, or at least have a very close error fraction given that I calibrated the scale with the 50g weight so any error is relative to wherever error that weight has.
As for the scale itself, it is very precise but then again I didn’t expect anything else.
Cleaning
For cleaning of mechanical parts I use 99,9% isopropanol (2-propanol; C3H8O) it is important to use very high concentration (>95%) to ensure it evaporates off cleanly. Commercial lower concentration isopropanols usually contain distilled water or even worse aromatic substances which won’t evaporate off and remain on the surfaces - exactly something that is not wanted on mechanical parts of a precision scale.
For the non mechanical parts I use 70% isopropanol (with 30% distilled water).
Thoughts, comments? Drop me an email!
Links
- Mettler History - catalogue of Mettler balances with specifications
- METTLER »H15« LAB SCALE - describes the internal workings of a comparable Mettler scale.